
The problem I’ve learned about trailer based tiny homes is that it can be difficult finding a parking spot. The other struggle I experienced was the need for a larger truck. I have been a fan of van life, however the cost of getting a van and converting it was just not within my current budget. I didn’t want to have another vehicle I would have to pay tags for either.
My largest goal for this camper was to build a project and complete it in a very short time frame. The plan was for 7 days or just 1 week to design and build a back camper for my truck. It took 10 days, as making things happen in the time I choose does not happen very well because I’ve learned that I make unrealistic expectations for myself. Tough lesson yet needed to learn…
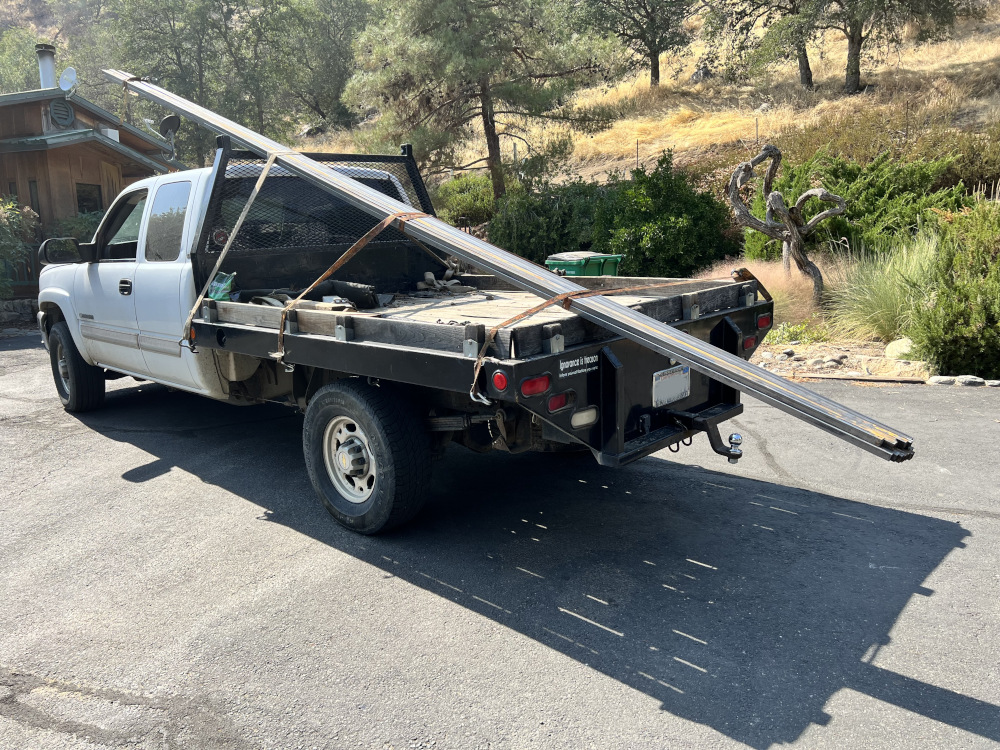
This project started with the purchase of 1 inch by 1 inch thin wall (0.060) square tubing. These come in standard lengths of 20 feet, so fellow Marine Ron Zanini came to the rescue with his flat bed truck that had an upper rail to rest the 20 foot tubing on so that it did not have to be cut to shorter lengths. This way I could maximize the use with less waste on the “short cuts”.
Ron being a master craftsmen was also adamant about making sure the base was squared, so he wanted to lead the way with the welding. At 84 years old, I’m always happy to see him do what he loves to do. From there are took it to the next level by welding on the sides and roof!
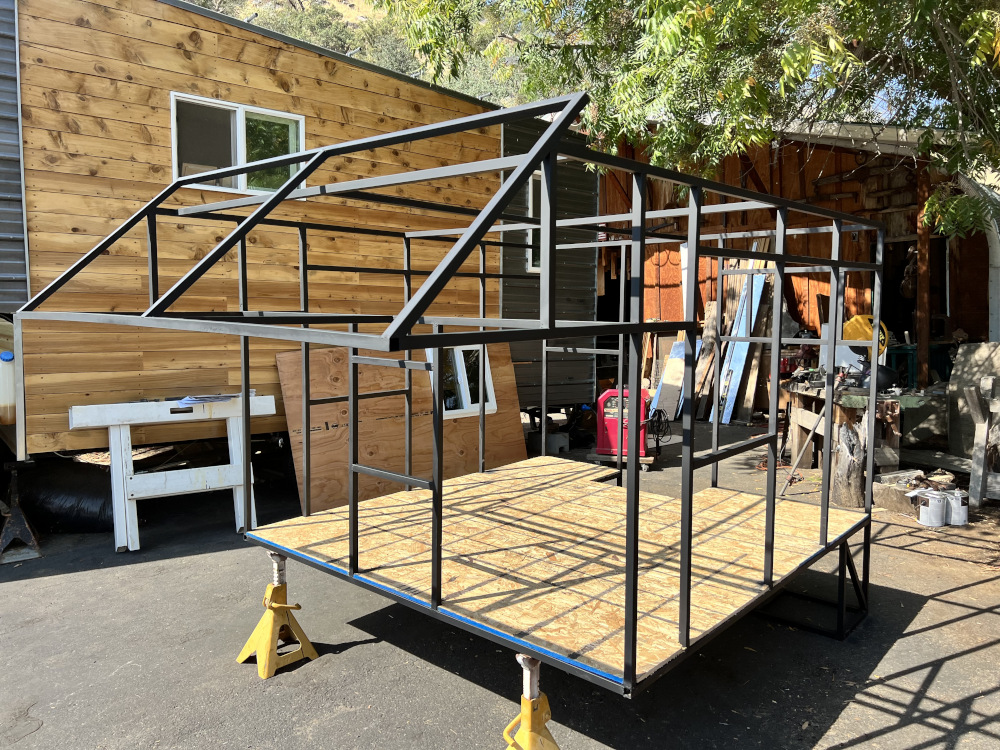
The change I made on this truck camper as opposed to past tiny home creations, was utilizing a stick welder and steel square tubing to construct the frame. This created a much stronger frame, however it did at some extra weight, I reduced that weight by using only what was necessary for frame strength and the necessary contact points to attach the plywood sheathing to the frame securely.
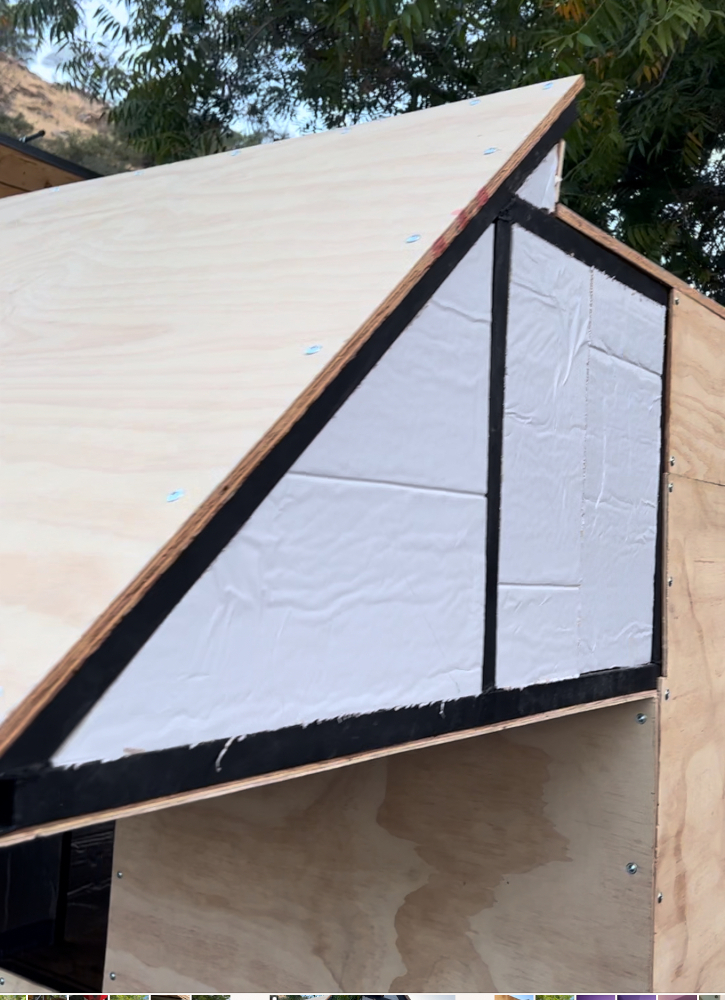
The other feature I really liked about this design in using 1″ square tubing was that I could use 1″ foam insulation to insulate the walls very efficiently. All I had to do was measure the width and height, cut the foam and then smack it into the wall and any offset in dimension would just fill in. The only challenge was the front section that had the angles. Using a spare piece of cardboard, tracing the and then cutting a template makes this an easier process.

Leave a Reply